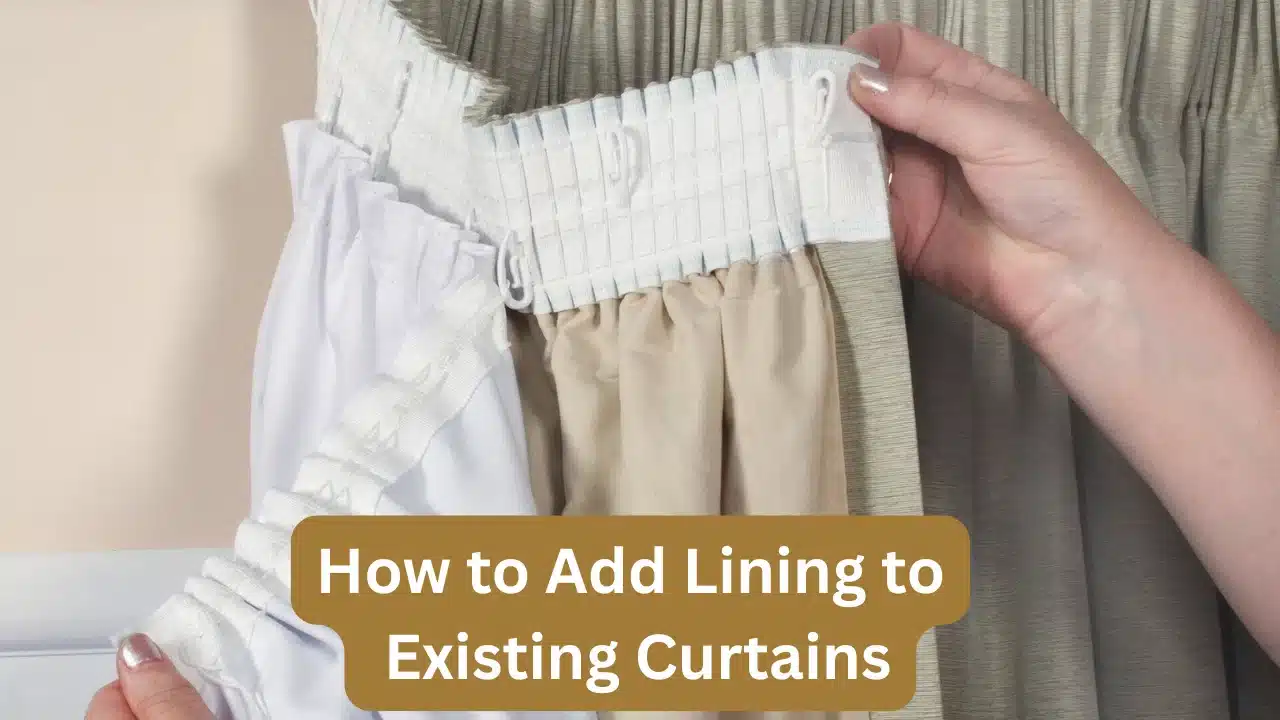
Curtains are a part of any home interior theme, they control the sunlight, improve the privacy, and add to the overall décor. Still, with time, homeowners come to realize that their existing curtains might not offer enough privacy, light control, or insulation. They plan to change it but what if instead of doing that there is another cost-efficient way! Well, there is and that is to add lining to existing curtains for better functionality. Now this raises another questions; how to add lining to existing curtains for better privacy and comfort. We bring you a guide that will let you know all about it in a step by step manner.
Why Add Lining to Existing Curtains?
Many of the standard window curtains are designed merely for decoration and lack the practical performance. You can add lining to improve their appearance and functionality without the need to do a complete replacement. Benefits of these curtain linings include better privacy, light control, increased insulation, sound absorption, and luxurious appeal. Lined curtains also present a better draping effect as they add weight and structure to the existing fabric.
Types of Curtain Linings You Can Choose

Before you add lining to your window curtains, it is important for you to choose the right material. The choice of the lining material must be made on your needs and room type.
1. Blackout Lining
Blackout drapery lining is the perfect choice for the bedrooms and media room as they block the sunlight better while offering privacy and insulation.
2. Thermal Lining
Thermal lining is effective in keeping the indoor temperature under control by reducing the heat transfer via windows.
3. Cotton Lining
Cotton fabric curtains lining is breathable option that is also lightweight; it protects your curtain fabric while improving the privacy and appearance.
4. Interlining
Interlining is a thick layer of fabric that you place between the fabric and lining to offer a fuller, luxurious appearance.
Step-by-Step Guide to Adding Curtain Lining
You can get the lining for the curtains done either by a professional curtain installer or DIY it if you have basic sewing skills. Below is the step-by-step guide on how to add curtain lining.
Step 1: Measure Your Existing Curtains Carefully
You need to first do an accurate measurement for the curtain itself before you purchase the lining. Measure the width, length, hem allowance, and header style. This lining must be a little smaller compared to the fabric dimensions to prevent it from showing at the edges. Careful measuring will result in a smooth installation and professional results.
Step 2: Select the Right Lining Fabric
You must choose the lining material based on the needs of the room. For instance, your bedroom will benefit from the blackout lining, the living room requires a cotton lining, large windows need the thermal lining, while luxury spaces work best with interlining.
Step 3: Remove Curtains and Prepare the Workspace
Now the real part comes; take down the draperies and place them on a large, clean surface. Before you attach the lining, wash or steam it to remove any dust and wrinkles. Always check them for damaged seams and loose stitching. A clean and organized working area will make the entire process easy.
Step 4: Cut the Lining Fabric Properly
You need to use the curtain measurements to properly cut the fabric lining accurately. Keep in mind that the lining must sit a little above the bottom hem. The side edges must remain hidden behind the folds of the curtains, and there should always be an extra seam allowance. Its best to use a pair of sharp scissors to do precise, neat cuts.
Step 5: Attach the Lining to the Curtains
There are generally two common methods to attach curtain lining. One is the sewing method that is quite professional and durable. The lining is stitched to the side seams, top edge, and bottom hems to create a strong bond that lasts longer for better curtain structure. Second is the clip-on method, which is a temporary one. This method is suited for rental homes, temporary upgrades, or non-sewing solutions. Still, sewn linings are a preferred choice as they offer a cleaner and more polished finish.
Step 6: Rehang and Adjust the Curtains
Once the lining is attached, you need to rehang the curtains, adjust their folds, steam the wrinkles out, and check for a smooth draping effect. Properly lined curtains will appear fuller and more elegant right after fitting.
Final Thoughts
This guide on how to add lining to existing curtains for better privacy and comfort will certainly be of help in your next project. It will not just tell you how to do it, but also give you help in the selection of the right lining for the right curtain needs. You never have to replace your curtains completely, as the lining will upgrade the performance while maintaining your existing interior style. All you need are the right materials, accurate fitting, and careful design choice to make your curtains beautiful, functional, and comfortable.