How to Install a Curtain Rod: Step-by-Step Guide
The installation of a curtain rod seems like a simple DIY task, but if you don’t do it correctly, there will be differences in the appearance and functionality of the curtains. A proper fitting of these rods requires you to factor in the weight of the drapes as well as improve the overall interior theme of the room. One wrong measurement or a weak mounting can result in uneven curtains or damaged walls. This is the reason we have made this step-by-step guide on how to install a curtain rod.
Tools You’ll Need
Before the start of any curtain project, you need to have all the right tools for the fitting process. These are the ones you will need:
- Curtain Rod
- Brackets
- Measuring Tape
- Pencil
- Spirit Level
- Drill
- Screwdriver
- Wall Plugs or Anchors
- Step Ladder
- Stud Finder
- Safety Goggles
- Step-by-Step Process On Curtain Rod Fitting
When you have everything ready for the process, it’s time to follow these steps.
Step 1: Measure Your Window
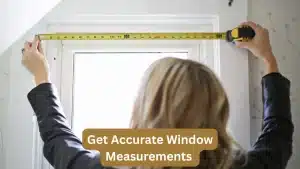
You need to first take measurements for the rod fitting. This is done by measuring the width fo the window first. The right dimension would be one that extends on both sides by about 15 to 30 cm. This lets the curtains stack neatly when they open to allow natural light to come into the room. Next, you should decide how high the curtains must be so as to place the rod at that point. We recommend it to be about 10 to 20 cm above your window frame.
Step 2: Mark the Bracket Positions
When you have taken the measurement, its time to lightly mark where each bracket will be fitted. For a standard window size of 2 * 3 meters, you should place the left bracket evenly from the window edge. Repeat this same measurement for the right side and ensure each marking is leveled. Use the spirit level to confirm these two brackets are horizontally aligned.
Step 3: Check the Wall Type
Different wall materials will need different installation methods. A dry wall will work better with anchors if you don’t want to drill a wall stud. For brick or concrete walls, we recommend using masonry drill bits and wall plugs. If it’s a wooden wall, we recommend using screws to allow bracket support.
Step 4: Drill the Holes & Install the Brackets
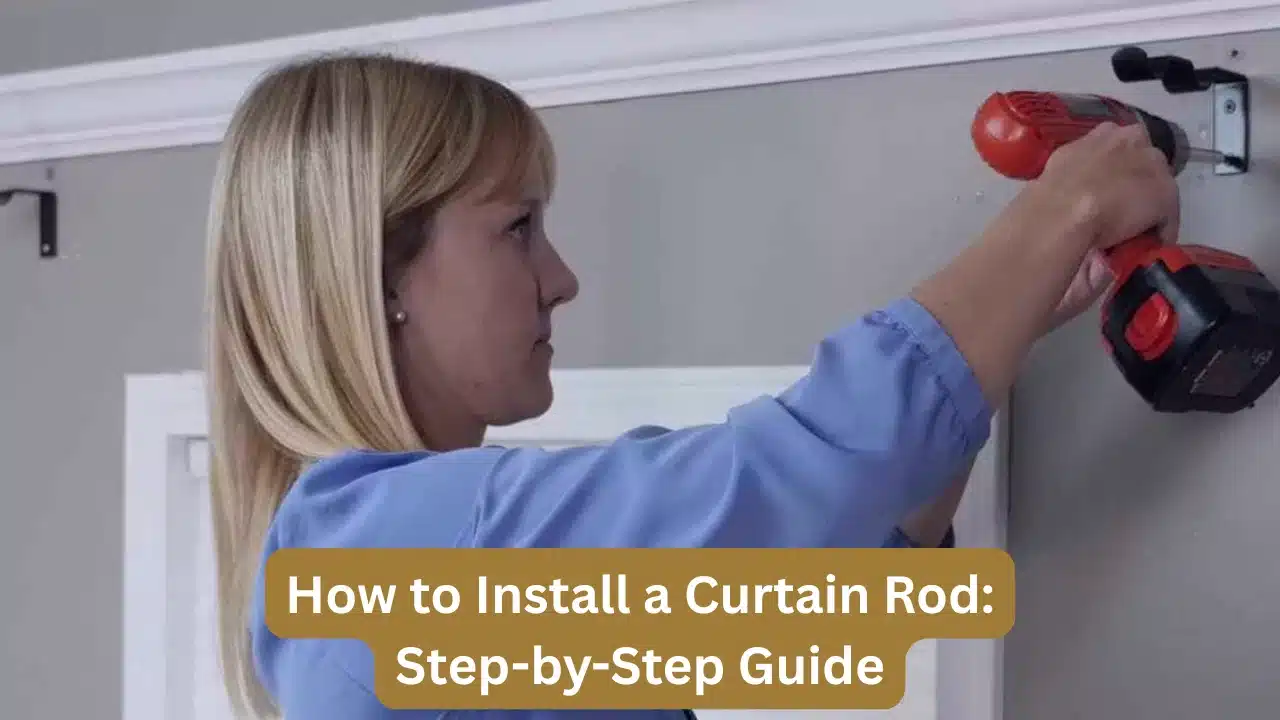
Once the bracket positions are confirmed, you need to drill pilot holes at each of these marked locations. Pilot holes make it easier to insert the screws and also prevent any wall damage. For the concrete wall, we recommend using the correct masonry bit and inserting a wall plug before you attach your brackets. Align your bracket with the drilled holes and secure them in place with screws using a screwdriver. Use the spirit level to check if the brackets are aligned before tightening them.
Step 5: Assemble the Curtain Rod
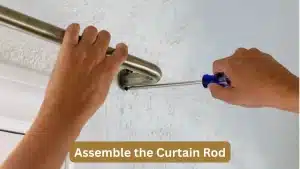
Most of these curtain rods feature multiple sections that either slide or screw into each other. Before you mount, attach the decorative finials to each end of the rod, adjust the rod’s length for a telescopic option, and check all the connections. If you happen to use curtain rings, you must thread them onto the rod before attaching the final finial.
Step 6: Hang the Curtains
Slide the curtains onto the rod as per their header style. This could be an eyelet curtain, wave window curtain, pencil pleat curtain, or a grommet curtain. You must make sure that these curtains move smoothly across the curtain rod without bunching.
Step 7: Place the Rod onto the Brackets
Now carefully lift the assembled curtain rod and place it onto the mounted brackets. Secure this rod as per the curtain manufacturer’s instructions. Some brackets will need small locking screws to prevent their shifting. It’s best to double-check everything to ensure it’s stable.
Step 8: Adjust the Curtains
Spread your window curtains evenly across the curtain rod. Arrange the fabric folds neatly to create that balanced appearance. If the curtains are new, it’s best to gently train those pleats by hand so they feel natural. A small adjustment can make a big difference for the final look.
Final Thoughts
Installation of the curtain rod is a straightforward home improvement project. Still, it is one that will change the appearance and functionality of your window treatments. This step-by-step guide on how to install a curtain rod will let you know which steps you should take to ensure a clean & balanced curtain rod fitting. All you need are the right tools and a little bit of patience to complete the job and get a well-dressed, stylish window curtain rod installation in any room.